What Is Lab Safety and How Can You Build a Safer Laboratory?
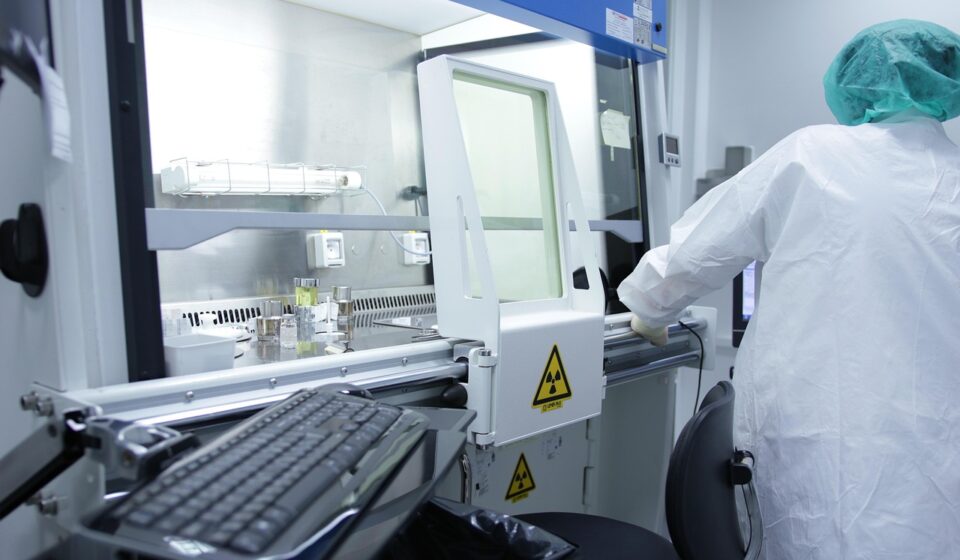
What Does Lab Safety Mean in Real Work?
Lab safety is the day-to-day way a lab keeps people, samples, instruments, and the room itself out of trouble. It is more than a file in the office or a warning sign on the door. In a working laboratory, it shows up in small actions: how a bottle is labeled, where a centrifuge sits, when a fume hood sash is lowered, and whether a worker can reach an eyewash fast after a splash.
A Practical Definition
Good lab safety links the job to the hazard. If you work with corrosives, the plan has to cover splash protection, compatible storage, and emergency rinsing. If you use a vacuum line, it needs to cover glassware condition, shielding, and pressure limits. The main point is plain: before the work starts, the team should know what can go wrong, what control is in place, and who acts if that control fails.
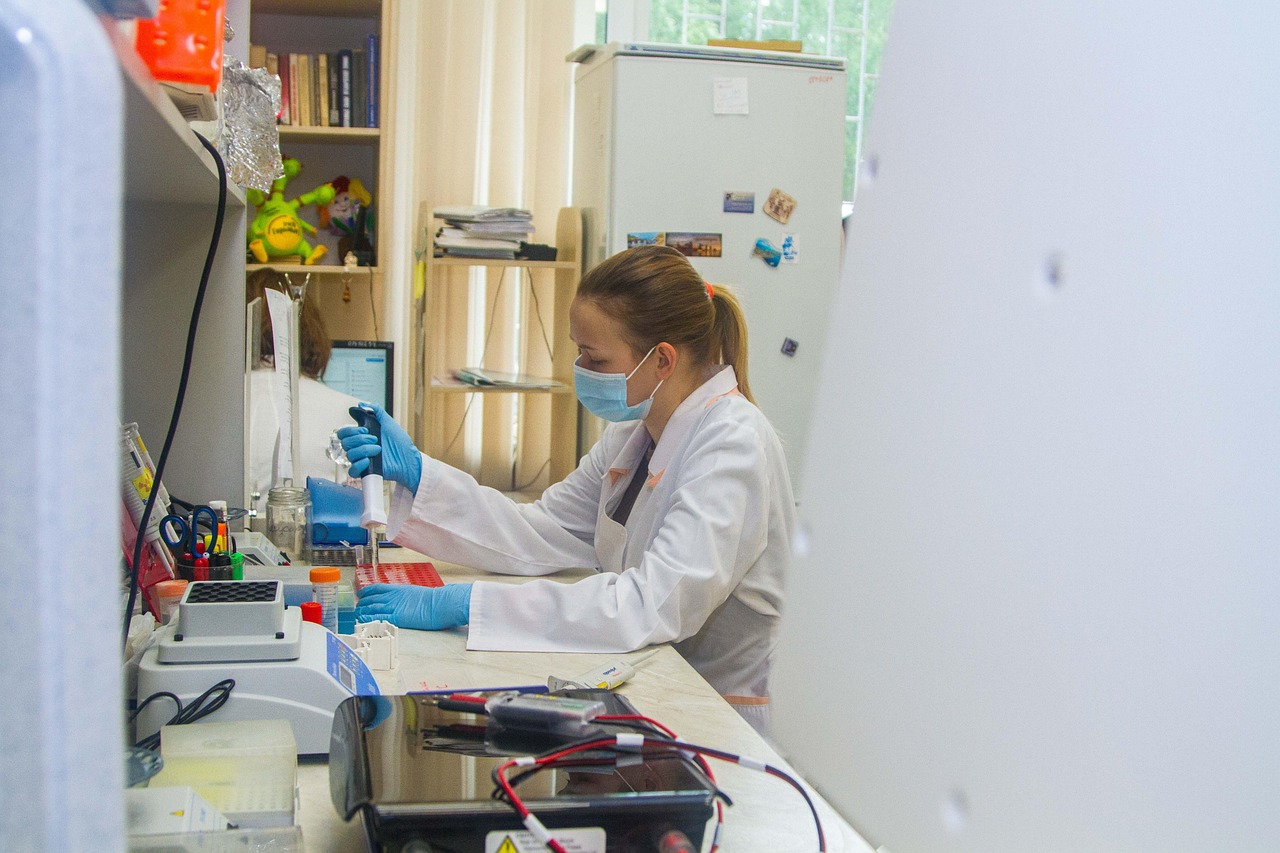
Why Small Mistakes Grow Fast
Many lab incidents begin with something small. A label is missing, a solvent bottle is left near heat, a rotor is loaded a bit off balance, or a power cord runs across a wet floor. None of these looks serious at first, so they are easy to miss when the lab is busy. A safer lab treats these signs as early warnings, not as minor tidying issues.
Where Public Data Fits
The U.S. Bureau of Labor Statistics reported on January 22, 2026 that private industry employers recorded 2.5 million nonfatal workplace injuries and illnesses in 2024, with a total recordable case rate of 2.3 cases per 100 full-time equivalent workers. This figure is not only about labs, and it should not be used that way. There is also no single public dataset that counts every incident in research, quality control, clinical, teaching, and industrial labs. Even so, the BLS data gives useful context: workplace injuries are still common enough that routine controls need real follow-up.
Which Lab Hazards Should You Map First?
A lab hazard map does not need to look fancy. It needs to show how work is really done. Walk through the lab by task, not only by room name. Sample receiving, reagent prep, heating, cooling, weighing powders, centrifuging, waste handling, cleaning, and maintenance each bring different risks. When you map the task first, weak spots are easier to see.
Chemical Exposure and Fire
Chemical hazards include skin contact, inhalation, ingestion, injection, fire, pressure release, and unwanted reactions. Flammable solvents need ignition control and proper storage. Acids and bases should be kept away from incompatible materials. Oxidizers should not be stored with organic solvents just because the bottles fit on the same shelf. OSHA 29 CFR 1910.1450, the Laboratory Standard, treats written procedures and a Chemical Hygiene Plan as key parts of chemical lab work. That is a useful baseline for any lab that uses hazardous chemicals.
Biological and Sharps Risks
Biological work brings some uncertainty, especially in diagnostic labs where the sample may not be fully known. The CDC and NIH Biosafety in Microbiological and Biomedical Laboratories, 6th edition page updated March 18, 2026 describes protocol-driven risk assessment as a core principle for biomedical and clinical laboratories. In simple terms, the organism matters, but the procedure matters as well. Vortexing, pipetting, centrifuging, and opening tubes can change aerosol risk. Sharps make the risk more direct, so approved sharps containers, needle-safe methods, and steady bench habits cannot be treated as optional.
Equipment, Pressure, and Electricity
Labs with many instruments can overlook the hazards that come with the machines themselves. Autoclaves use heat, steam, and pressure. Centrifuges hold a lot of energy when running at speed. Gas cylinders can become projectiles if they fall and the valve breaks. Vacuum systems can implode weak glassware. Electrical risk increases when liquids, damaged cords, or overloaded outlets are part of the setup. A safety review should include the instrument manual, maintenance needs, utility connections, and safe shutdown steps.
How Should You Control Risk Before PPE?
PPE matters, but it should not be the only line of defense. The CDC and NIOSH hierarchy of controls ranks actions from more effective to less effective: elimination, substitution, engineering controls, administrative controls, and PPE. This order makes sense in daily lab work. Goggles cannot pull vapor out of the air, and gloves cannot fix poor chemical storage.
Elimination and Substitution
The best hazard is the one that never enters the room. You may use smaller volumes, buy prepared standards instead of mixing from concentrated stock, or choose a less toxic solvent when the method allows it. In teaching labs, microscale chemistry often reduces waste and exposure at the same time. In quality control labs, closed sampling kits can cut down open pouring. These changes may not look exciting in a procedure, but they often cost less than spill cleanup and downtime.
Engineering Controls and Instruments
Engineering controls put distance or a barrier between people and hazards. A chemical fume hood helps control vapors when it is used the right way. A biosafety cabinet protects the worker, sample, and environment for many biological tasks, but it is not a general chemical vapor hood unless the model and ducting are suitable. Splash shields, sealed centrifuge rotors, interlocked doors, local exhaust arms, and gas detection systems also belong in this group. When buying lab instruments, ask which hazard the equipment controls and which hazard it may add.
Administrative Rules That People Follow
Rules only help when people can follow them during a normal shift. Keep SOPs short enough to use at the bench. Put waste labels where waste is generated, not in an office drawer. Schedule high-risk transfers when trained help is nearby. Use clear stop-work triggers, such as unknown odor, cracked glassware, missing SDS, failed hood alarm, or unexpected heat. A rule that looks good on paper but is ignored in practice is not a control. It is just paperwork.
What Equipment Makes a Laboratory Safer?
Safety equipment should fit the materials, methods, and room layout. Do not buy it only from a checklist. A small analytical lab, a wet chemistry lab, and a microbiology lab may all need eye protection and spill response tools. Their ventilation, containment, storage, and waste setups can still be very different.
Ventilation and Containment Devices
Fume hoods, ducted enclosures, balance enclosures, glove boxes, and biosafety cabinets control exposure in different ways. A common mistake is treating them as the same type of equipment. They are not. Keep airflow paths clear, do not use a hood as a storage cabinet, and follow the site schedule for inspection or certification. If a hood sash is always fully open because users need more space, the task or layout may need to be changed.
Emergency Wash and Spill Tools
OSHA 29 CFR 1910.151(c) requires suitable facilities for quick drenching or flushing where workers may be exposed to injurious corrosive materials. ANSI/ISEA Z358.1-2014(R2020) is widely used as detailed guidance for emergency eyewash and shower equipment, including the familiar 15-minute flushing concept. Spill kits should match the likely materials in the room: acid neutralizers for acids, absorbents for solvents, mercury response only where mercury is actually present, and biohazard supplies for infectious materials. A spill kit still sealed in plastic behind stacked boxes is not ready for real use.
Storage, Labels, and Daily Access
Safe storage works quietly until it prevents a bad day. Use flammable safety cabinets for suitable flammables, corrosive cabinets or trays for acids and bases, and secondary containment where leaks could spread. Compressed gas cylinders need restraints, caps during transport, and the right regulator. OSHA Hazard Communication rules require labels and safety data sheets to be available, and OSHA 29 CFR 1910.1450 also says incoming hazardous chemical labels must not be removed or defaced. If workers cannot find the SDS during the shift, the system is too slow for the lab. See also: lab instruments.
How Should Training and SOPs Work?
Training should make safe work easier, not just prove that someone signed a form. A 60-slide annual lecture has a place, but it will not show a new worker how a cracked centrifuge tube sounds or where the neutralizer sits after a bench spill. People remember what they practice, especially when the practice is tied to their actual job.
Short Task Based Training
Break training into real tasks: receiving chemicals, reading Section 2 and Section 8 of an SDS, starting a hood, changing gloves, loading a rotor, cleaning broken glass, or leaving the lab during an alarm. A new worker should show the task, not only click through a screen. Five focused minutes at the bench can do more than a long meeting where people are half-listening. It also gives the trainer a chance to correct habits before they become routine.
Chemical Hygiene Plan and SDS Use
Under OSHA 29 CFR 1910.1450, a Chemical Hygiene Plan must be readily available and include safety and health-related standard operating procedures for work with hazardous chemicals. Treat the plan as a working document, not a folder that only comes out during an audit. When a new reagent, instrument, or method arrives, check whether the SOP still fits. The SDS should support the job by showing hazards, exposure controls, PPE, storage, and emergency measures. It should not be opened for the first time after a spill has already happened.
Incident Reporting Without Blame
Near misses are useful lessons if people feel safe reporting them. A dropped sample tube, a failed glove, a small splash on a lab coat, or a strange instrument noise should lead to a fix, not blame. Record what happened, what barrier failed, and what will change. Sometimes the fix is small, like moving a waste bottle six inches away from a hotplate. Small is fine. Small fixes often prevent larger trouble later.
How Can You Audit Lab Safety Without Slowing Work?
An audit should feel like normal lab housekeeping, not like a surprise courtroom visit. Short and regular checks find problems while they are still easy to correct. They also show whether written procedures match how the lab actually runs on a regular Tuesday afternoon.
Five Minute Walkthroughs
Use a simple walkthrough list: exits clear, eyewash reachable, labels readable, incompatible chemicals separated, waste closed, cords intact, spill kit present, PPE stocked, food absent, and hoods not used for random storage. Pick one area each day instead of trying to inspect the full lab in one round. Quick checks help build the habit without stopping useful work. They also make small changes easier to track.
Monthly Checks for Critical Gear
Set a monthly review for critical equipment records: hood airflow checks, biosafety cabinet certification dates, eyewash and shower activation logs, fire extinguisher access, spill kit contents, gas cylinder restraints, autoclave maintenance, and centrifuge rotor inspection. This monthly review does not replace stricter local policy, manufacturer instructions, or ANSI-style weekly activation practices where your site uses them. It simply makes gaps visible before an inspector, customer, or injured worker finds them. For a busy lab, that visibility is often the difference between a quick fix and a shutdown.
Purchase Reviews Before New Work
Every new instrument or method should pass a safety review before purchase or installation. Ask about power, ventilation, heat, noise, waste, chemicals, calibration, cleaning, emergency shutdown, and user training. A compact instrument can still need clearance for exhaust or service. A reagent kit can still create hazardous waste. This review saves money because it catches facility needs before the crate arrives at the loading dock.
FAQ
Q1: What Is the Most Important Lab Safety Rule? A: Know the hazard before starting the task. Read the SOP, check the SDS when chemicals are involved, use the right controls, and stop if something does not match the plan.
Q2: How Often Should Lab Safety Training Happen? A: Train at onboarding, when a new hazard or method appears, after an incident or near miss, and during routine refreshers. Short task-based practice usually works better than rare, oversized sessions.
Q3: Is PPE Enough for Chemical Lab Safety? A: No. PPE is the last layer in the CDC/NIOSH hierarchy of controls. Reduce risk first through substitution, ventilation, containment, safer procedures, and good storage.
Q4: What Should Be in a Basic Lab Safety Inspection? A: Check labels, storage, waste, emergency access, eyewash reach, PPE stock, ventilation status, gas cylinder restraints, housekeeping, and whether workers can explain the key hazards of their tasks.
Q5: How Can You Choose Safer Laboratory Equipment? A: Match the equipment to the hazard and workflow. Review ventilation, containment, maintenance, alarms, cleaning, waste, training, and emergency shutdown before buying or installing it.