Blood sample preparation for reliable laboratory testing
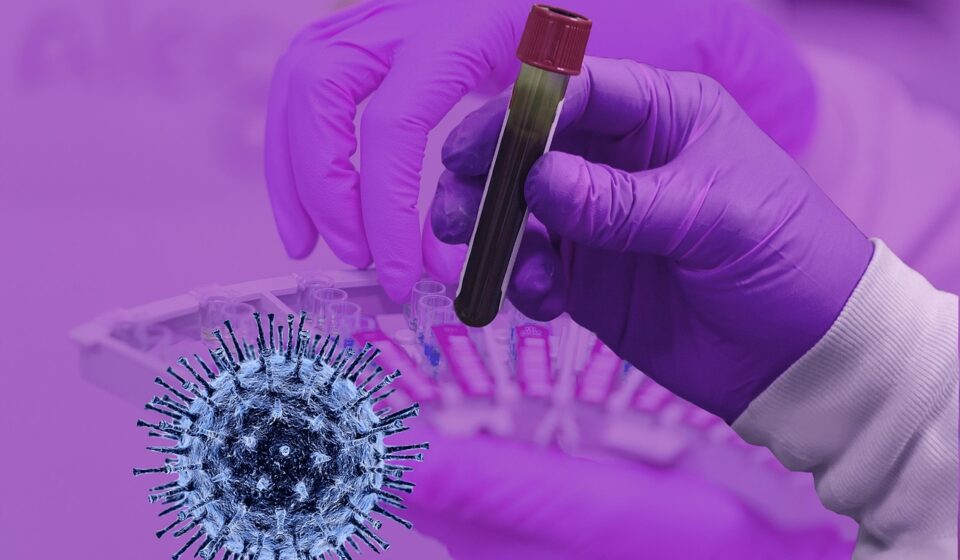
Blood sample preparation is the controlled process that turns a collected blood specimen into material suitable for testing, storage or transport. It starts before venipuncture and continues through patient identification, tube selection, mixing, clotting, centrifugation, aliquoting, temperature control and documentation. The aim is straightforward: keep the specimen in a condition that fits the intended assay.
Guidance from WHO and CLSI, along with requirements in ISO 15189:2022 and OSHA bloodborne pathogen rules, reinforces a practical point for laboratories: many quality and safety problems arise before analysis begins. A clear preparation workflow helps protect result reliability and staff safety, while reducing recollection, delayed reporting and unnecessary sample rejection.
What blood sample preparation includes
In routine laboratory use, blood sample preparation often describes the visible bench steps after collection, such as spinning tubes, separating serum or plasma and transferring aliquots. In practice, it is broader. A prepared blood sample is only as reliable as the pre-examination process that produced it.
A complete preparation workflow usually includes:
- Confirming the patient or subject identity and test requirements.
- Selecting the correct collection tube, additive and fill volume.
- Following the appropriate order of draw when multiple tubes are collected.
- Mixing additive tubes gently by inversion rather than shaking.
- Allowing clot formation when serum is required.
- Centrifuging at the specified speed, time and temperature when separation is needed.
- Separating serum or plasma from cells within the allowed time window.
- Labeling aliquots so they remain traceable to the original specimen.
- Maintaining required storage and transport conditions.
For laboratories reviewing their wider sample preparation process, blood is a useful starting point because small deviations can affect analyte concentration, cellular integrity or anticoagulant performance.
Why pre-analytical control matters
Analytical instruments are often highly standardized, but blood collection and preparation still depend on people, timing, consumables and transport conditions. Published laboratory medicine reviews consistently identify the pre-analytical phase as a major source of total testing-process error. This does not mean every specimen is unreliable; it means many quality improvements are made upstream of the analyzer.
Common pre-analytical problems include hemolysis, clotting in anticoagulated tubes, underfilled citrate tubes, mislabeling, delayed separation, wrong storage temperature and use of the wrong tube type. Some issues are visible, such as a strongly hemolyzed serum or plasma layer. Others may only become clear after checking collection history, tube fill, time stamps or assay-specific requirements.
The impact depends on the test. Hemolysis may interfere with chemistry assays because intracellular contents enter serum or plasma. Delayed separation may allow ongoing cellular metabolism to affect certain analytes. Poor mixing of an EDTA tube can cause microclots that compromise hematology testing. A coagulation tube with an incorrect blood-to-anticoagulant ratio may produce results that are not suitable for interpretation. Preparation quality is therefore not a cosmetic issue; it determines whether a result is analytically meaningful.
Collection decisions that affect preparation
Patient and test requirements
Blood sample preparation should begin with the test order, not with the centrifuge. The required specimen type, fasting status, timing, posture, medication restrictions, light protection and transport temperature should be checked against the laboratory procedure or the assay instructions for use. ISO 15189:2022 emphasizes defined pre-examination processes, which is a practical reminder that laboratories should document requirements before collection starts.
Some tests can accept serum or plasma, while others require a specific anticoagulant or whole blood. Coagulation testing commonly requires sodium citrate plasma. Many hematology tests require EDTA whole blood. Some chemistry tests use serum, lithium heparin plasma or other validated specimen types, depending on the method. Substituting one matrix for another without validation can introduce bias or make the specimen unacceptable.
Tube selection and order of draw
Tube additives stabilize specimens for particular testing needs, but they can also contaminate later tubes if the collection order is incorrect. WHO phlebotomy guidance and CLSI venous blood collection guidance both emphasize drawing tubes in the correct order to reduce additive carryover. A commonly taught order for evacuated tubes is blood culture tubes first, followed by citrate, serum, heparin, EDTA and fluoride or oxalate tubes. Local policies and manufacturer-specific tube systems should always be followed, especially for trace-element testing or special collection kits.
Fill volume also matters. Underfilling a tube changes the ratio between blood and additive. Citrate tubes are especially sensitive because the anticoagulant ratio is part of coagulation test design. Additive tubes should be inverted gently according to the tube manufacturer’s instructions. Vigorous shaking is a known risk for red cell damage and foam formation, while inadequate mixing can allow clot formation.
Clotting, centrifugation and aliquoting
Serum preparation requires clot formation before centrifugation. The required clotting time varies by tube type, patient condition and manufacturer instruction. Centrifuging too early can leave fibrin strands or incomplete separation, while excessive delay can keep serum in contact with cells longer than intended.
Plasma preparation usually requires centrifugation soon after collection and, in many workflows, prompt transfer away from cells. Centrifuge settings should be treated as controlled variables. Relative centrifugal force, time, brake setting, rotor type, tube compatibility and temperature can all influence separation quality. Using only revolutions per minute can be misleading because actual force depends on rotor radius. Laboratories should define relative centrifugal force where possible and maintain centrifuge records.
Aliquoting is another critical control point. Transfer devices should avoid disturbing the buffy coat or cellular layer unless the protocol specifically requires it. Aliquot labels should preserve identity, specimen type, collection time, processing time and storage condition. For frozen storage, aliquot volume and container headspace should support the planned freeze-thaw and retrieval process.
Serum, plasma and whole blood are not interchangeable
Blood sample preparation must match the required matrix. The three common outputs are serum, plasma and whole blood, but each represents a different biological and technical condition.
| Specimen form | How it is prepared | Typical use considerations | Main preparation risks |
|---|---|---|---|
| Serum | Blood is collected without anticoagulant or in a serum separator tube, allowed to clot, then centrifuged. | Frequently used in chemistry, immunology and serology, depending on method validation. | Incomplete clotting, fibrin, delayed separation and hemolysis. |
| Plasma | Blood is collected into an anticoagulant tube, mixed by inversion and centrifuged to separate plasma from cells. | Used when anticoagulated specimens are required, including many coagulation and some chemistry workflows. | Wrong anticoagulant, incorrect fill volume, additive carryover and platelet contamination when platelet-poor plasma is required. |
| Whole blood | Blood remains mixed with the correct anticoagulant and is not separated before testing unless specified. | Used for many hematology, blood gas, molecular or point-of-care methods, depending on assay design. | Clotting, poor mixing, storage beyond stability limits and temperature deviations. |
The table shows why a universal preparation method is not realistic. The correct process is assay-dependent. Manufacturer instructions, validated laboratory procedures and clinical laboratory standards should take priority over informal habits. See also: buying guides.
Quality checks before analysis or storage
Quality checks should be built into the workflow rather than treated as a final inspection. A sample that fails a critical requirement may need recollection, but early detection can prevent wasted instrument time and unreliable reporting.
Useful checks include:
- Identity and traceability: Confirm that the tube or aliquot label matches the request and that time-sensitive details are recorded.
- Tube and additive: Verify that the tube type, anticoagulant and fill level match the ordered test.
- Visible integrity: Inspect for hemolysis, clotting, leakage, lipemia or unusual appearance according to laboratory policy.
- Processing time: Compare collection, receipt, centrifugation and separation times against stability requirements.
- Temperature condition: Confirm ambient, refrigerated, frozen or protected-from-light handling where required.
- Centrifuge control: Check rotor balance, tube rating, sealed buckets when needed, and documented speed and time.
Not all abnormal-looking specimens must be rejected automatically. Some may be accepted with comments, diluted, recollected or tested with method-specific limitations. The decision should be based on validated acceptance criteria, not visual judgment alone.
Equipment considerations in a blood preparation workflow
Blood preparation relies on routine laboratory equipment, but routine does not mean low-risk. Centrifuges, pipettes, tube racks, transport containers, biosafety cabinets, refrigerators and freezers all influence specimen consistency.
Centrifuges should match the tube format and throughput of the laboratory. Swing-bucket rotors often support clearer horizontal separation, while fixed-angle rotors may be preferred in some high-throughput or research settings. The key is not the rotor style alone, but whether the validated procedure produces the required specimen quality. Calibration, preventive maintenance and rotor inspection help reduce variation and safety risk.
Pipettes and transfer devices should be appropriate for the viscosity and volume being handled. Disposable tips reduce carryover risk, while aerosol-resistant tips may be appropriate for some workflows. For bloodborne pathogen safety, OSHA’s Bloodborne Pathogens Standard requires precautions for occupational exposure to blood or other potentially infectious materials, and CDC standard precautions are based on treating blood and body fluids as potentially infectious. That safety principle should shape tube opening, aliquoting, splash control, sharps handling and waste disposal.
A practical checklist for laboratories
The following checklist can be adapted for training, internal audits or workflow review. It is not a substitute for a laboratory SOP, but it summarizes the decisions most likely to affect blood sample quality.
- Confirm patient or subject identity using the required identifiers.
- Check the requested tests and required specimen type before collection.
- Select the correct tube, additive and collection volume.
- Follow the approved order of draw for multiple tubes.
- Invert additive tubes gently and promptly; do not shake.
- Record collection time and collector details where required.
- Allow serum tubes to clot according to tube and assay instructions.
- Centrifuge using the validated force, time, temperature and brake setting.
- Separate serum or plasma without disturbing cells unless the protocol requires otherwise.
- Label aliquots with enough information to preserve traceability.
- Store and transport at the required temperature and within stability limits.
- Document deviations and apply acceptance or rejection criteria consistently.
The strongest blood sample preparation programs are usually simple, visible and measurable. They define what must happen, train staff to do it consistently and monitor indicators such as rejection reasons, hemolysis frequency, recollection rates and delayed processing events.
Frequently asked questions
What is the difference between blood collection and blood sample preparation?
Blood collection is the act of obtaining the specimen from a patient or subject. Blood sample preparation includes collection-related controls plus later steps that make the specimen ready for analysis, storage or transport, such as mixing, clotting, centrifugation and aliquoting.
Why is centrifugation so important for serum and plasma?
Centrifugation separates liquid serum or plasma from cells. If the force, time or timing is incorrect, cells, platelets, fibrin or residual debris may remain in the sample and affect testing. The correct conditions should be defined by the assay, tube manufacturer and laboratory procedure.
Can serum and plasma be used for the same test?
Sometimes, but not by assumption. Some methods are validated for both serum and plasma, while others require a specific matrix or anticoagulant. Laboratories should follow the test method, manufacturer instructions and their own validation data.
What causes hemolysis during blood sample preparation?
Hemolysis can result from difficult collection, excessive force during syringe transfer, vigorous tube shaking, unsuitable needle or tube handling, temperature stress, delayed processing or mechanical stress during transport. Because causes vary, laboratories often need to review the full pre-analytical path rather than blaming a single step.
How should a laboratory improve blood sample preparation quality?
Start with standardized procedures, staff training and measurable quality indicators. Track rejection causes, review high-risk tests, confirm centrifuge settings, check tube fill and mixing practices, and ensure that specimen stability rules are visible at the point of work.